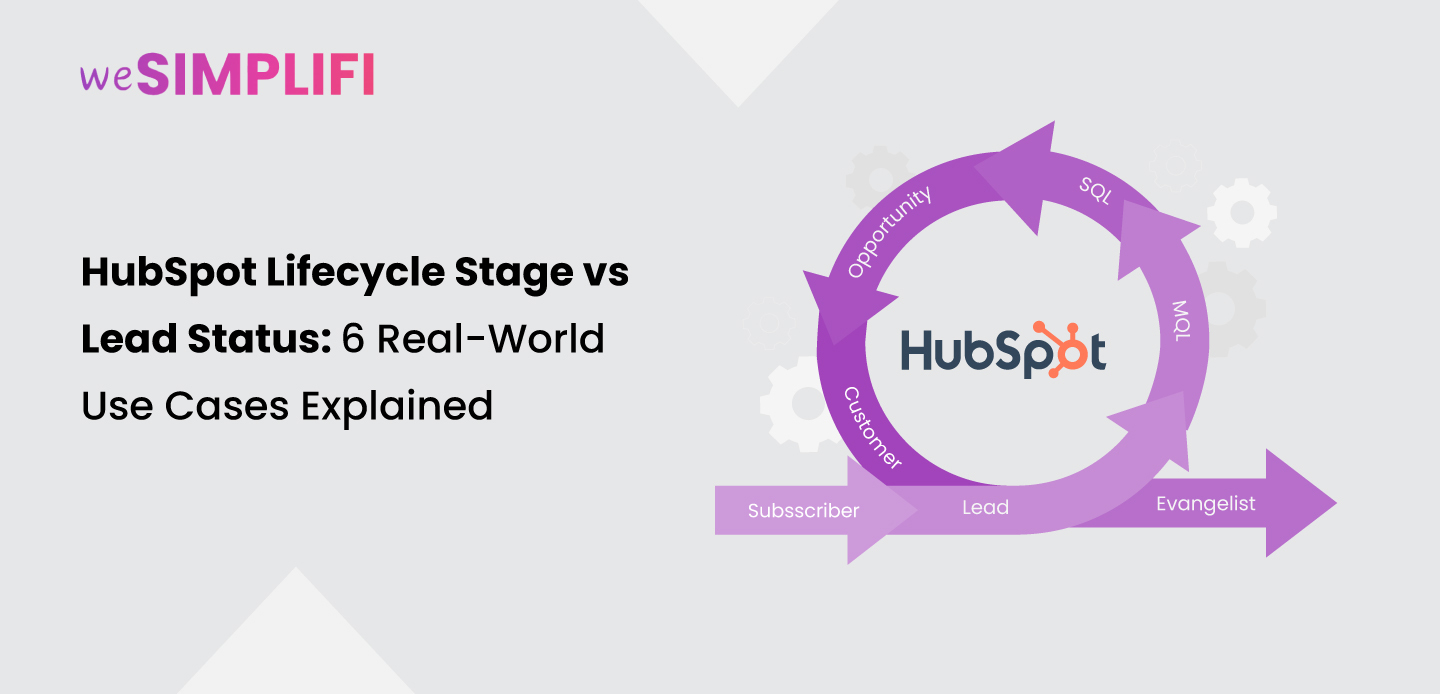
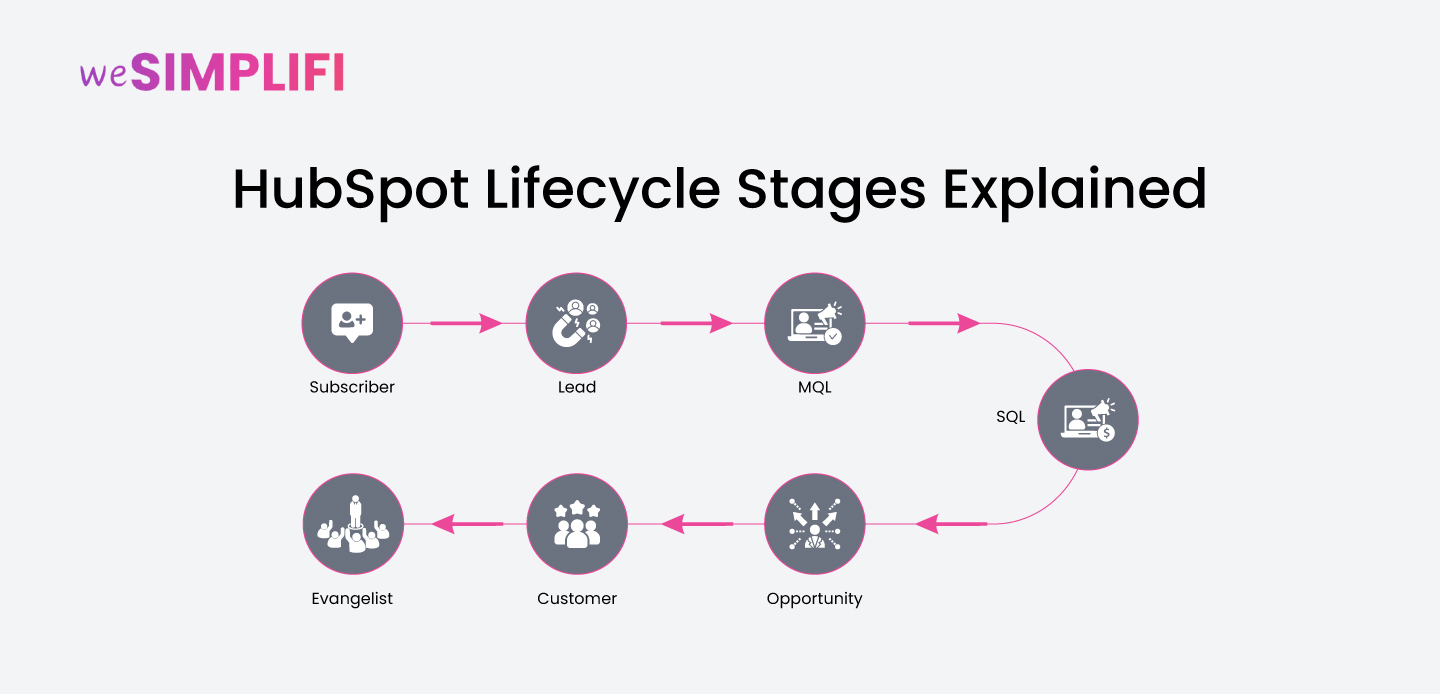
Mapping the buyer journey is an important aspect of any business plan. The insights gained from this can help identify what’s working and what’s not. This data can be further utilised to create better marketing and sales strategies. A powerful feature that helps achieve this is the HubSpot lifecycle stages. The default lifecycle stages in HubSpot begin from Subscriber and end at Evangelist stage. A common question however, intrigues most HubSpot users, “Can the default HubSpot lifecycle stages be customised?”. This blog will resolve this query by delving into the basics of HubSpot contact stages in HubSpot CRM, what they entail, and how they can be utilised for maximum conversion.
What are HubSpot Lifecycle Stages?
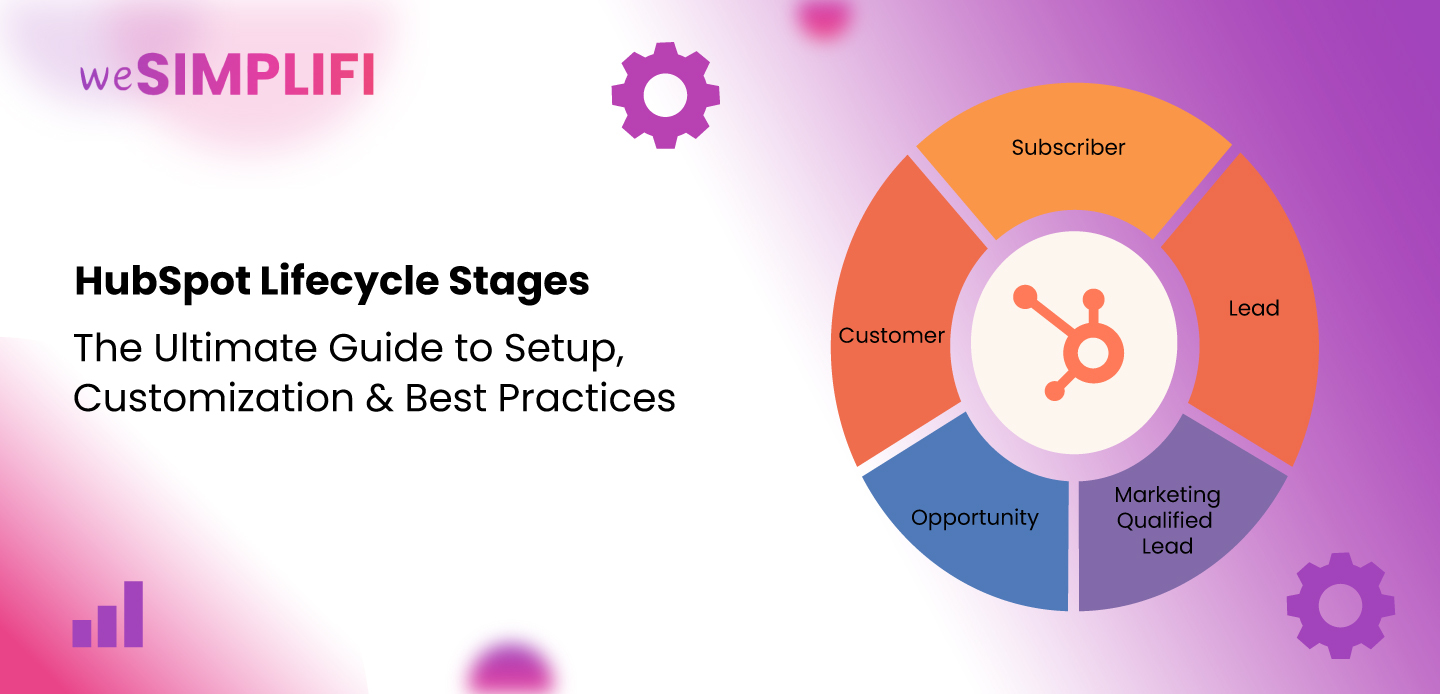
Hubspot lifecycle stages map out the entire journey of a customer in the buying process. This default stages’ mapping allows better alignment between the sales and marketing team to strategise on conversion and retention. Let’s take a look at the different lifecycle stages in HubSpot and explore relevant examples to understand them:
-
Subscriber
-
Lead
-
MQL or Marketing Qualified Lead
-
SQL or Sales Qualified Lead
-
Opportunity
-
Customer
-
Evangelist
-
Other
HubSpot Lifecycle Stage vs Lead Status (Quick Refresher)
HubSpot lifecycle stage and lead status are related terms that most users confuse each other with. In simple terms, lifecycle stages track the entire journey of a customer from their first contact to when they closed the deal/ started promoting the brand. Whereas, the lead status in HubSpot indicates a customer’s position in the sales process. Let’s take a look at the difference between lifecycle stage and lead status through a table:How to Edit or Change a Contact’s Lifecycle Stage
The feature to edit lifecycle stages in HubSpot comes in handy to tailor the lifecycle stages to suit individual business needs. They can be edited either manually or via automated workflows. Here’s a step-by-step guide on how to update HubSpot lifecycle stage for a contact:Updating the Lifecycle Stage Manually
- In the HubSpot CRM, navigate to the Contacts section.
- Open the contact record and click on the name of the contact you want to update.
- Scroll down to the Lifecycle Stage property.
- Click on the current lifecycle stage and a dropdown opens from which you can select the new stage.
- Click on Save to apply the changes to the contact record.
Automating Lifecycle Stage Update with Workflows
- Open your HubSpot account, navigate to Automation.
- Select Workflows from the dropdown menu.
- Click on "Create workflow" on the right side of the page.
- Select "Contact-based" workflow.
- Set Enrollment Triggers to define the criteria that will enroll contacts into the workflow (For instance, you might enroll contacts who submit a specific form, or have a certain lead score).
- Click the "+" icon to add an action.
- Select "Set property value" as the action type.
- Choose "Contact" as the target property type. Then, select "Lifecycle Stage" as the property to set.
- Select the desired lifecycle stage from the dropdown menu.
- Review and publish the workflow. The workflow will now automatically update the lifecycle stage for contacts that meet the enrollment criteria.
Can Lifecycle Stages be Moved Backwards?
Although not generally advised, you can move a lifecycle stage backward both manually and via automated workflows. Before doing this, it is important to clear the existing lifecycle stage value and then set a new one. Manually:- Open the Contact record in HubSpot.
- Navigate to the Lifecycle Stage property.
- Clear the current value.
- Select the desired previous Lifecycle Stage from the dropdown.
- To remove the current Lifecycle Stage in a workflow, use the "Clear property value".
- Utilise the "Set a property value" action next, to set the desired earlier Lifecycle Stage.
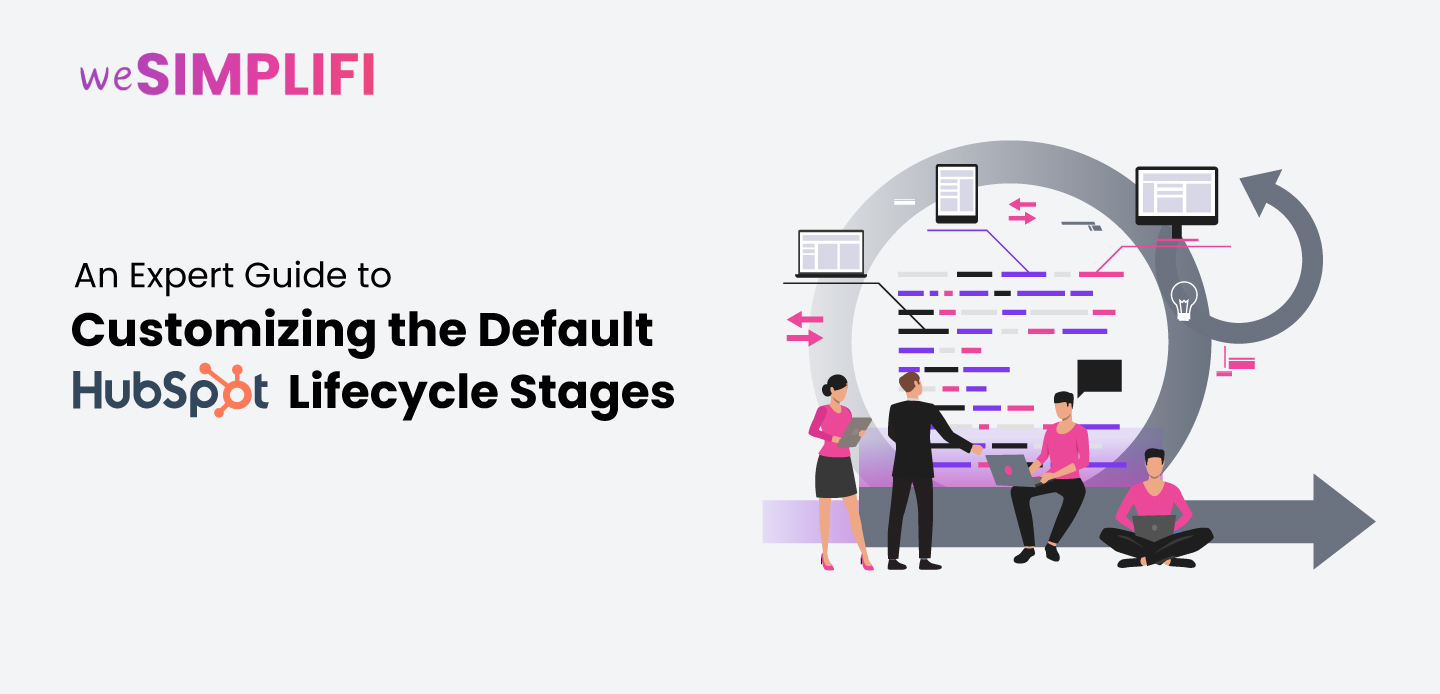
How to Customise HubSpot Lifecycle Stages (And Should You?)
HubSpot allows customisation of the lifecycle stages for your contacts and companies to suit individual business needs. This HubSpot lifecycle customisation allows performing actions such as adding custom lifestages in HubSpot, renaming an existing lifecycle stage, rearranging the lifecycle stages, and deleting a lifecycle stage. Before learning how to perform each, let’s take see how you can access the lifecycle stages in HubSpot:- Open your HubSpot account, click on the settings icon.
- Under the Data Management Section, navigate to Objects.
- Select the Contacts next.
- Click the Lifecycle Stage tab.
- Now, you can make the necessary edits here.
Adding a new lifecycle stage
- In the Lifecycle Tab, click on + Add stage.
- Enter the name of the new stage.
- Click on the Create Lifecycle Stage option to save the new stage
Renaming a lifecycle stage
- Open the Lifecycle Tab under contacts.
- Go to the required lifecycle stage and click on Edit.
- Enter the new stage name.
- Click on the Edit Lifecycle Tab to save the desired changes.
Rearranging the lifecycle stages
- In the Lifecycle Tab, click on the ten dots present before each lifecycle stage.
- Use this tab to drag the stage to its desired location.
Deleting a lifecycle stage
- Open the Lifecycle Tab in Contact record.
- Go to the required lifecycle stage and then click on Delete.
Why Your Lifecycle Stage Setup Might Not Be Working
Hubspot lifecycle stages are an important tool for any business. The mapping of a customer’s journey through the entire marketing and sales process, does not just help with conversions but also serve as a reference point for future strategies. Many businesses however struggle to see any real growth even while utilising the lifecycle stages in HubSpot. It is thus important to review whether you are using the HubSpot lifecycle stages correctly or not. Let’s take a look at the common mistakes made while using the lifecycle stages:- Misaligned Definitions
- No setting up the Property Values correctly
- Using Lifecycle Stages for Current Status
- Lack of History Tracking
Lifecycle Stage Best Practices (that Actually Work)
With the understanding of what lifecycle stages are and how they can be customised to suit individual business needs. Let’s move on to the HubSpot lifecycle stages best practices, these ensure that you make the most out this powerful tool in the CRM:- Define clear stages
- Customise content
- Utilise reporting stats
- Combine lifecycle stages and lead status
- Integrate Contact and Company Stages
- Rename instead of creating new stages
- Add an additional lifecycle stage “Delete”
Advanced Tips: Syncing Lifecycle Stages Across HubSpot Tools
HubSpot lifecycle stage syncing allows for automating the progression of lifecycle stages across the CRM, and marketing, tools. This ensures that the data is consistent across all HubSpot tools. The default sync behavior is one-way i.e. from company to contact, however it can be extended to synchronise contact and company stages using workflows or other integrations.- Default Company to Contact Sync When a company's lifecycle stage is updated, the lifecycle stages of all its associated contacts are also automatically updated to match.
- Workflows: Workflows can be used to automate lifecycle stage updates based on specific criteria, such as lead scoring or form submissions.
- Lists and Views: Contacts and companies can be segmented based on their lifecycle stage in saved views and lists, enabling targeted marketing and sales efforts.
- Reports: Lifecycle stage data is used in various HubSpot reports, this allows track of the entire sales process and identify areas for improvement.